- Coating Thickness Gauge
- X Ray Flaw Detector
- Magnetic Particle Inspection(MPI)
- Wire rope detector
- Digital Ultrasonic Flaw Detector
- Ultrasonic Thickness Gauge
- Holiday Detector
- Concrete Testing Equipment
- Surface Roughness Tester
- Eddy Current Electric Conductivity Meter
- Profile Projector
- Hardness Tester
- Industrial Endoscope
- Underground Pipeline leak Detector
- Microscope
Main function:
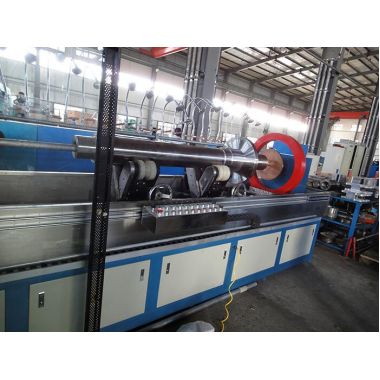
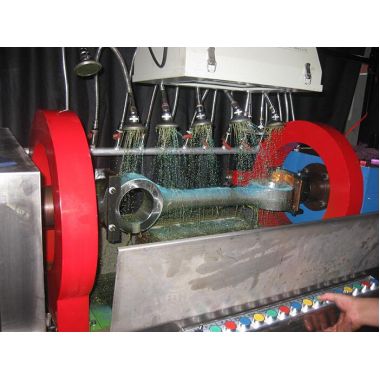
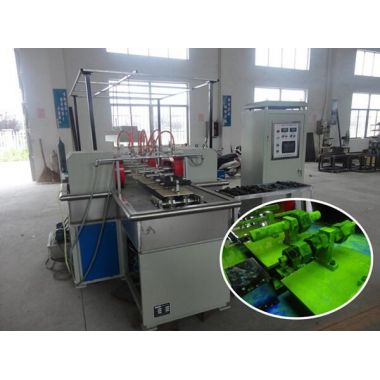
It adopts the secondary induction method that the current and magnetic field pass from the center of the workpiece to compound magnetize the workpiece, so that the magnetic field lines rotate. Therefore, a flaw detection can check the surface and near surface of the workpiece for cracks in all directions due to forging, quenching, grinding, slag inclusion, fatigue. The workpiece can be individually and compositely magnetized. The magnetizing current can be adjusted separately. It has the advantages of low noise and reliable performance. It has a power-off phase control function. At the same time, the PLC work program can also be adjusted based on the flaw detection.
Main features
This machine is a microcomputer-controlled magnetic particle inspection equipment. It uses a small industrial programmable logic controller (PLC) as its core to control the system's mechanical program actions such as clamping, spraying magnetic suspension, magnetization, and release. The prescribed procedures complete all the flaw detection processes except feeding and observation, which can be operated automatically or manually in a single step, which greatly reduces the labor intensity of the operator.
Main Specifications:
1, circumferential magnetizing current: AC 0-3000A (effective value) continuously adjustable, with power-off phase control;
2. Longitudinal magnetization magnetic potential: AC 0-18000AT (effective value) continuously adjustable, with power-off phase control;
3. Magnetization principle: energization method and coil induction method;
4. Magnetization modes: circumferential, longitudinal, and composite magnetization;
5.Electrode distance: 0-1100mm, adjustable by motor;
6. Pneumatic clamping stroke: 30 mm;
7. Clamping method: Pneumatic clamping, air pressure 0.4-0.6Mpa adjustable,
8. Detection cycle: 15s / piece (except loading and unloading and observation time);
9. Demagnetization method: automatic attenuation demagnetization;
10. Demagnetization effect: the residual magnetism on the workpiece after demagnetization is less than 160A / m (2GS);
11. Flaw detection sensitivity: 15 / 50A1 test piece is clearly displayed;
12. Ultraviolet intensity: 380mm away from the workpiece, the illuminance is greater than or equal to 1000uW / cm2;
13. Power supply: three-phase four-wire, 380V ± 10%, 50HZ, 100A.


